Blog ENG
WebDriver Automation – Selenium WebDriver
What is Selenium?
Selenium is a group of open source tools and libraries that are aimed at automating operations within the web browser, whether it is for testing web applications, automated web browsing, downloading content (web scraping) or automating some operations for which it is inefficient and unnecessary to always be done by human users.
Selenium WebDriver is one such tool, with which it is possible to write a sequence of instructions that controls the behavior of the web browser, regardless of the type of web browser. Drivers are currently available for all popular web browsers – Chromium/Chrome, Firefox, Edge, Internet Explorer, Safari (integrated driver) and Opera.
Demonstration
In this blog, we will demonstrate how to create one such Selenium script in the Python programming language for the task of downloading content from web pages (a hybrid of task automation and web scraping).
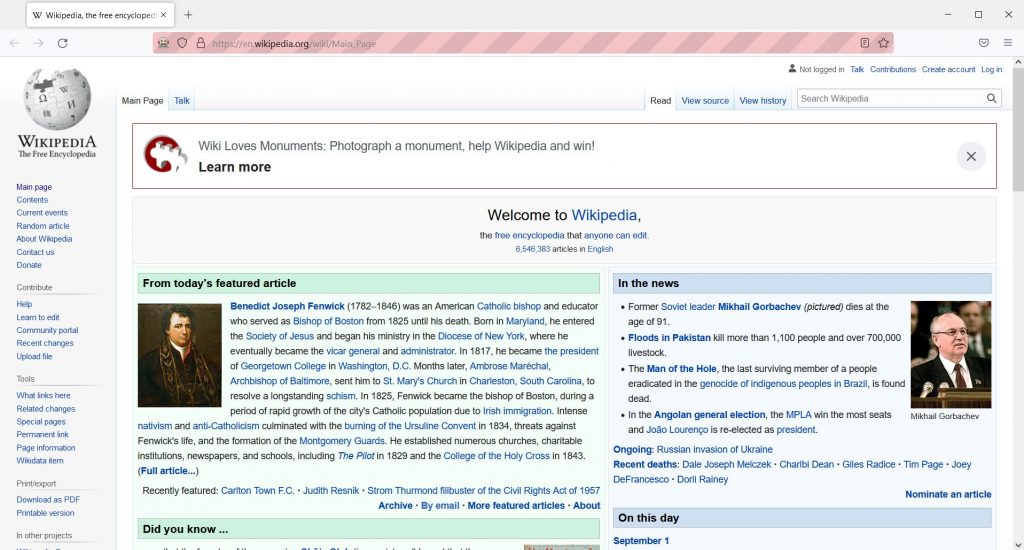
Our script will access the homepage of the English Wikipedia, enter the desired search term, access the appropriate page related to that term, click on all the links within the wiki article and download all these wiki articles in the form of a PDF file by clicking on the “Download as PDF” button.
Prerequisites
First we have to choose the web browser that we will use for our script, that is, which we will automate. After that, we need to download the appropriate official driver for the web browser. The download links for all drivers can be found at this link [https://selenium-python.readthedocs.io/installation.html#drivers]. For the purposes of this blog, we will use the Mozilla Firefox browser, i.e. Geckodriver. After downloading the driver, the executable file must be placed in the top directory of the Python installation (e.g. C:/Users/[user]/AppData/Local/Programs/Python/Python37-32) or placed in the system variable PATH.
To work in Python, of course, you first need to have Python installed, and in it we will additionally install the module “selenium” (the Python binding) using the “pip install selenium” command. We open a new Python script and we are ready to go.
Script
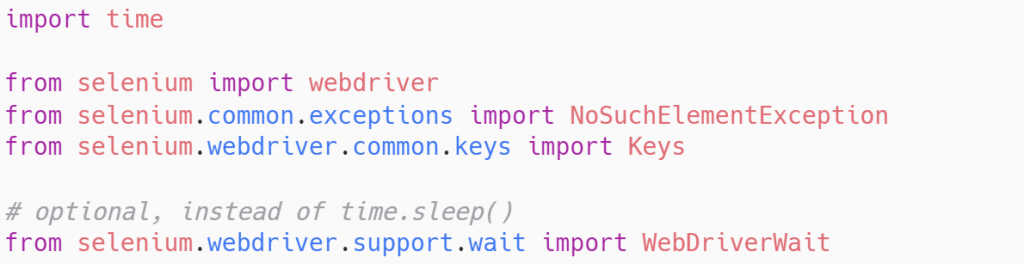
In the beginning, it is necessary to import all the necessary modules that we will use in the script, specifically here we use only two modules, the already mentioned “selenium” which we installed from PyPI and the “time” module integrated into the Python distribution, which we will use for time delays.
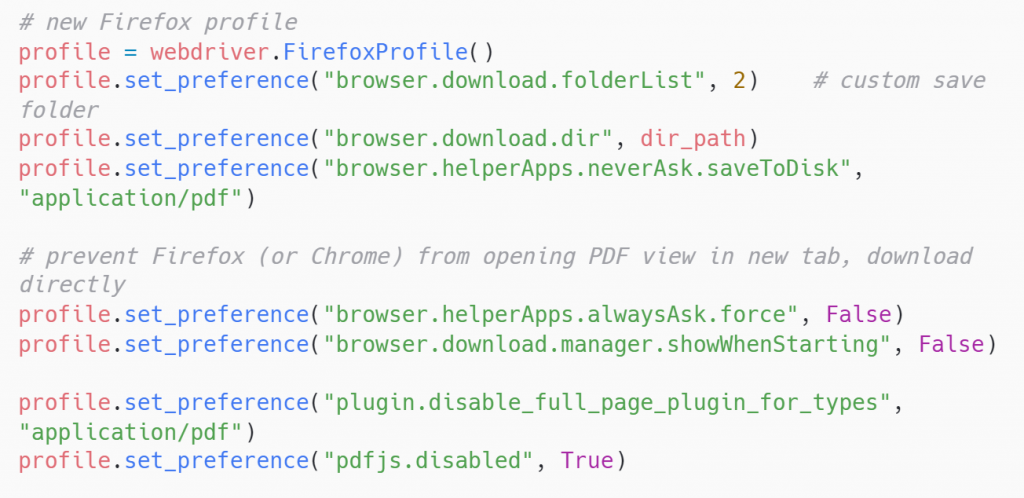
Before we start giving commands to WebDriver, we should define the behavior of the browser when downloading files from web pages. If we take certain behavior for granted, we will often run into problems. We can modify the default behavior by creating a Firefox profile, where we define that PDF files should be saved directly in the specified directory and disable the opening of the PDF preview in the browser.
Before the main part of navigating the browser, we need to define our basic parameters, the delay length, the starting URL address and the query. For example, if we want to search Wikipedia in another language, we need to change the url variable.

We initialize the WebDriver using the specified Firefox profile as an argument, use the GET method (HTTP) to access the specified page (the English Wikipedia) and maximize the window (enlarge to full screen size).
After that, we use the sleep() method of the time module to implement a time delay of the specified length (delay variable). We do this to ensure that the entire page will load completely. By default, WebDriver waits to execute the next piece of code until the static part of the page is loaded, but it cannot know when the dynamic content (JavaScript) has finished loading. This is of course a more primitive way of protecting against searching for elements that have not yet been loaded, so alternatively we can use the auxiliary WebDriver method WebDriverWait, where we can specify that WebDriver waits until a certain element appears on the page. For the purposes of this blog, we will go with the time.sleep() option for simplicity.

Here, for the first time, we come to the task of finding a specific element on the page. As part of this blog, we will not go into details, since everything is well described in the official documentation [https://selenium-python.readthedocs.io/locating-elements.html], but we will mention the basic ways to locate an element within a web page:
- id or class of an element (id is an attribute that serves as a unique identifier of an element, while several elements can have the same class)
- name attribute
- XPath or CSS selectors
- the name of the HTML tag
- link text (full or partial)
In our case, we first need to find a text input field (the integrated search engine). We will find its id using the standard web page inspection method (Inspect element, F12). When we have located the element, we can start interacting with it, specifically here we need to enter our text query (specified in the query variable) into that field and simulate pressing the Enter (Return) key. This brings us to the search engine results page.

Here we can easily get to the wiki article of the same name by finding a link that has a display text equal to our query. When we locate that link, we simulate a mouse click, which brings us to the first wiki article.

Once we’ve reached the main wiki article, we start finding and iterating through all the links within the article’s content. First we define what the URL addresses of these links must and must not contain (direct filtering of useless links). We will find links by searching all HTML tags with the name “a”. From these tags, we only take the “href” attribute, which contains the URL address of the link.
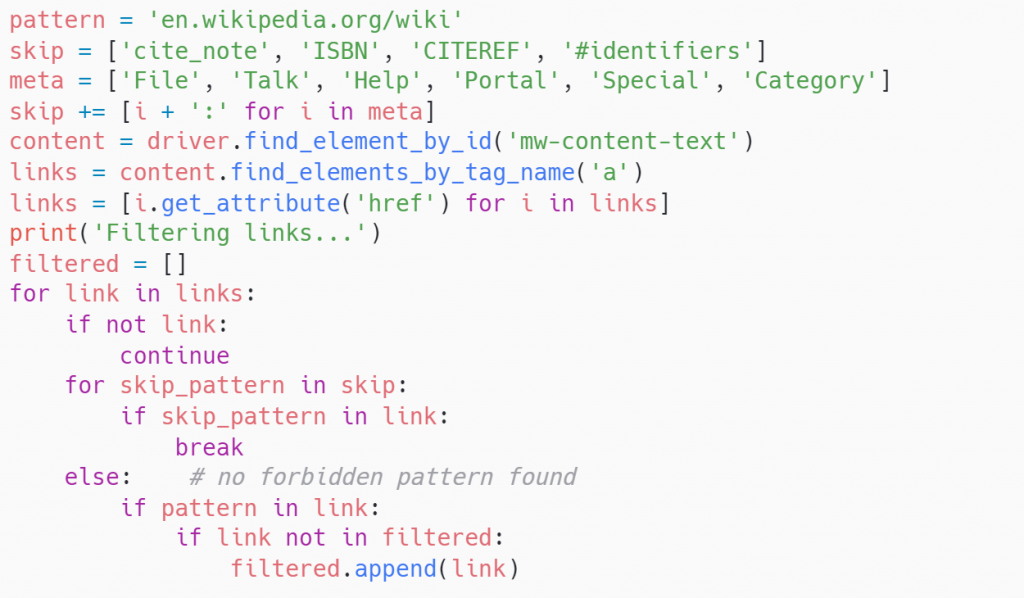
We define the text of the link that leads to the page for downloading the PDF file of the article (depending on the language). On the main wiki article we find the link and when the page loads we simulate clicking on the download button, thus downloading the first PDF file.

Now we do the same for every link we’ve collected within the main wiki article. We iterate through the list of links, make a GET request for each one, look for the link to download the PDF file and download the PDF by clicking the button. In case something goes wrong (the link or the button doesn’t load), we put this part of the code inside the try-except block. Finally, we close the WebDriver using the .close() method.

Conclusion
Through the demonstration within this blog, we have shown how easy it is to write a web browser automation script for various purposes, whether we need to download some content from the web, automate some task or test the behavior of a web application in the browser. Whatever the field, Selenium WebDriver is a great tool to have ready for tasks like this. If you want to know more about the Selenium WebDriver tool, web scraping or how the code of this demo works, feel free to contact the author of this blog at domagoj.maric@megatrend.com.